



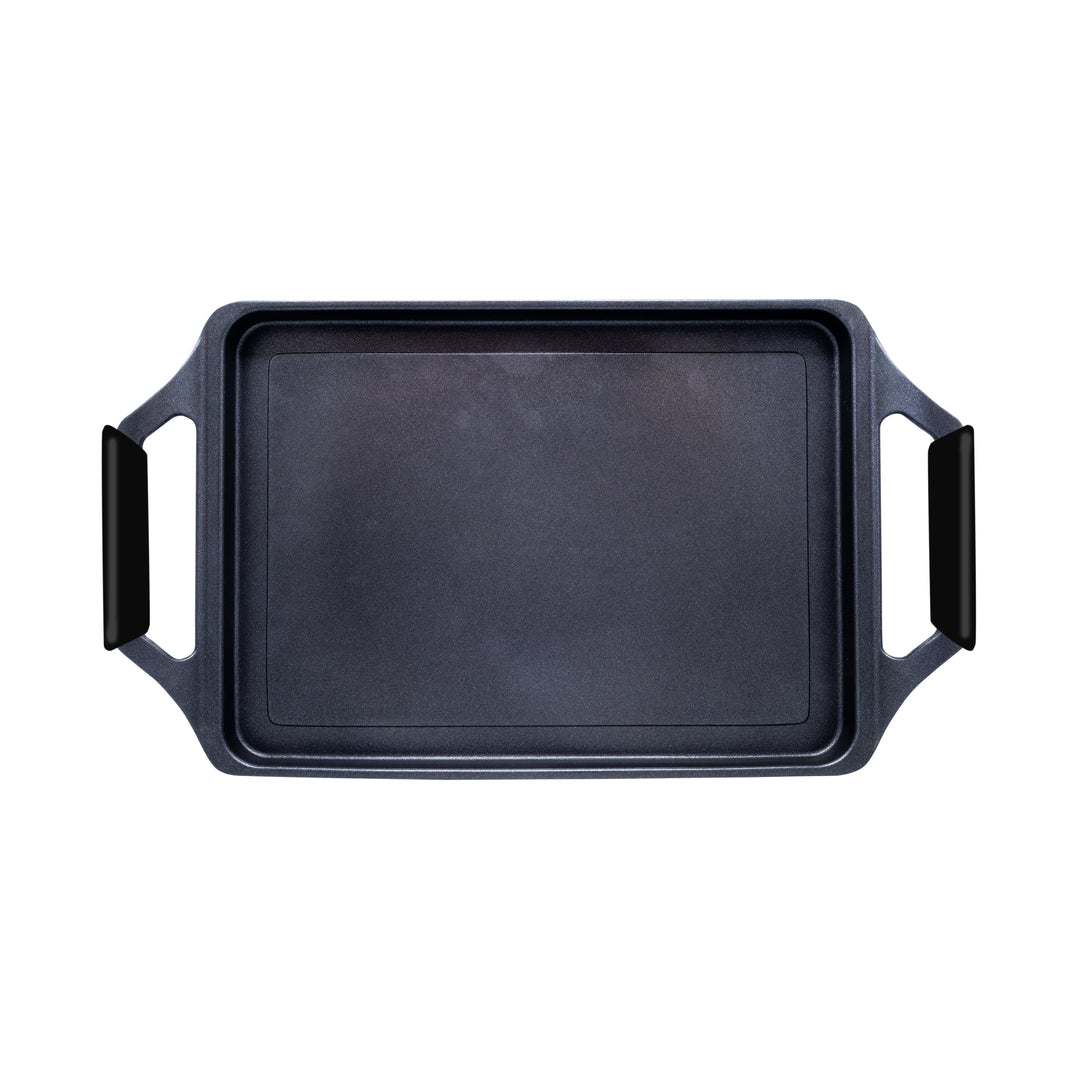

Stainless steel pans stand out for their resistance, durability, and ability to achieve intense browning. They are especially good for searing meats, sautéing vegetables, cooking fish with crispy skin, and preparing sauces by taking advantage of the juices left on the bottom.
However, they have some peculiarities worth knowing. Unlike a non-stick coated pan, stainless steel requires careful temperature control, using the right amount of fat, and respecting cooking times.
When used correctly, food does not have to stick. The key is not to permanently season the pan but to learn how to preheat it, recognize the right moment to add oil, and wait for the food to release on its own.
In this guide, we explain how to use a stainless steel pan from day one, which foods work best, which recipes take full advantage of its benefits, and how to keep it in perfect condition for a long time.
What makes a stainless steel pan special?
Stainless steel is a durable, hygienic material without coatings that can wear off with use. However, steel alone is not one of the best heat conductors. For this reason, well-made pans usually combine it with an inner layer of aluminum.
In a three-layer pan, the three layers work together:
- An inner layer of stainless steel, which comes into contact with the food.
- An aluminum core, which conducts and distributes heat.
- An outer layer of stainless steel, which provides durability and compatibility with different cooktops.
This construction helps reduce excessively hot spots and allows the pan to respond better to temperature changes.

Our three-layer stainless steel pan
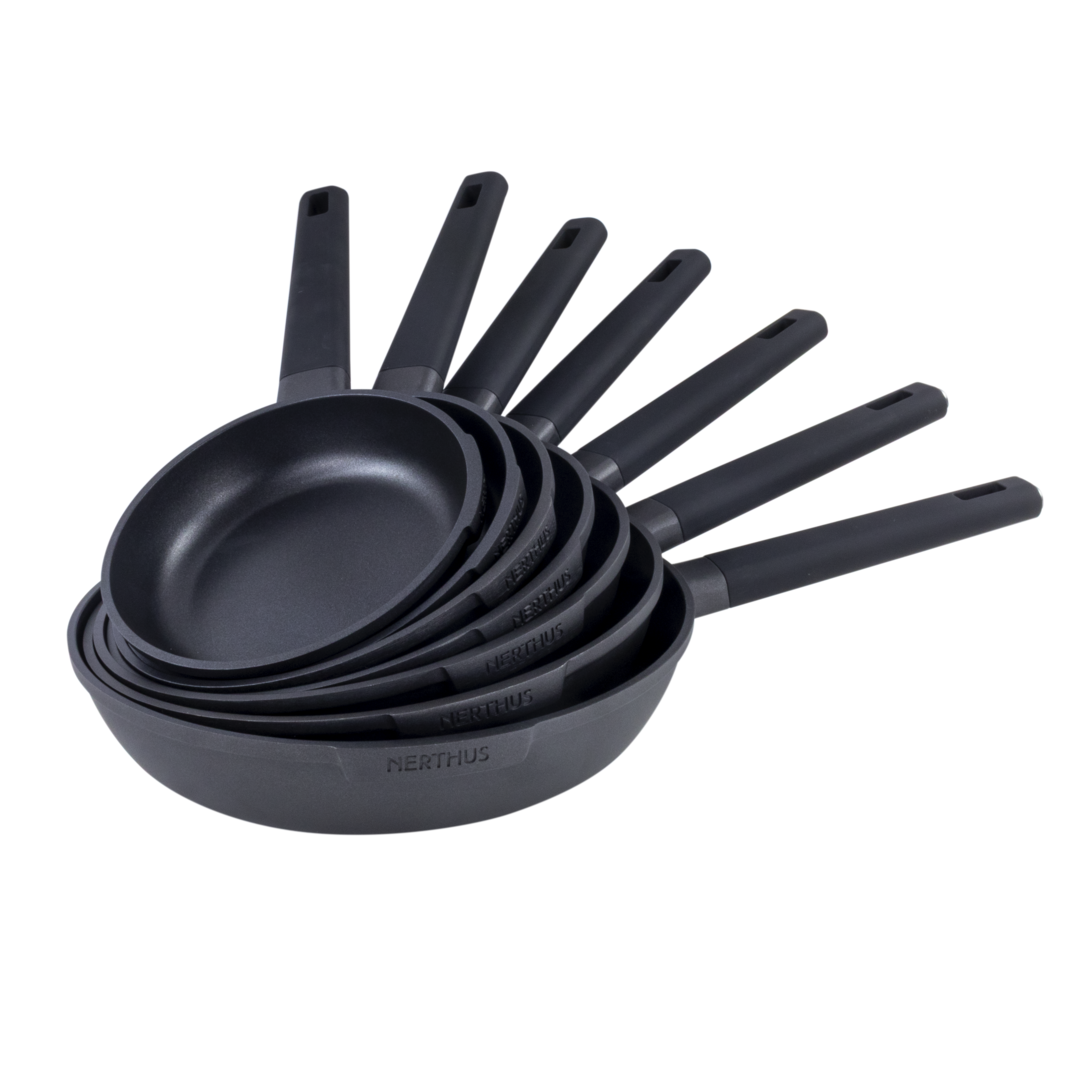
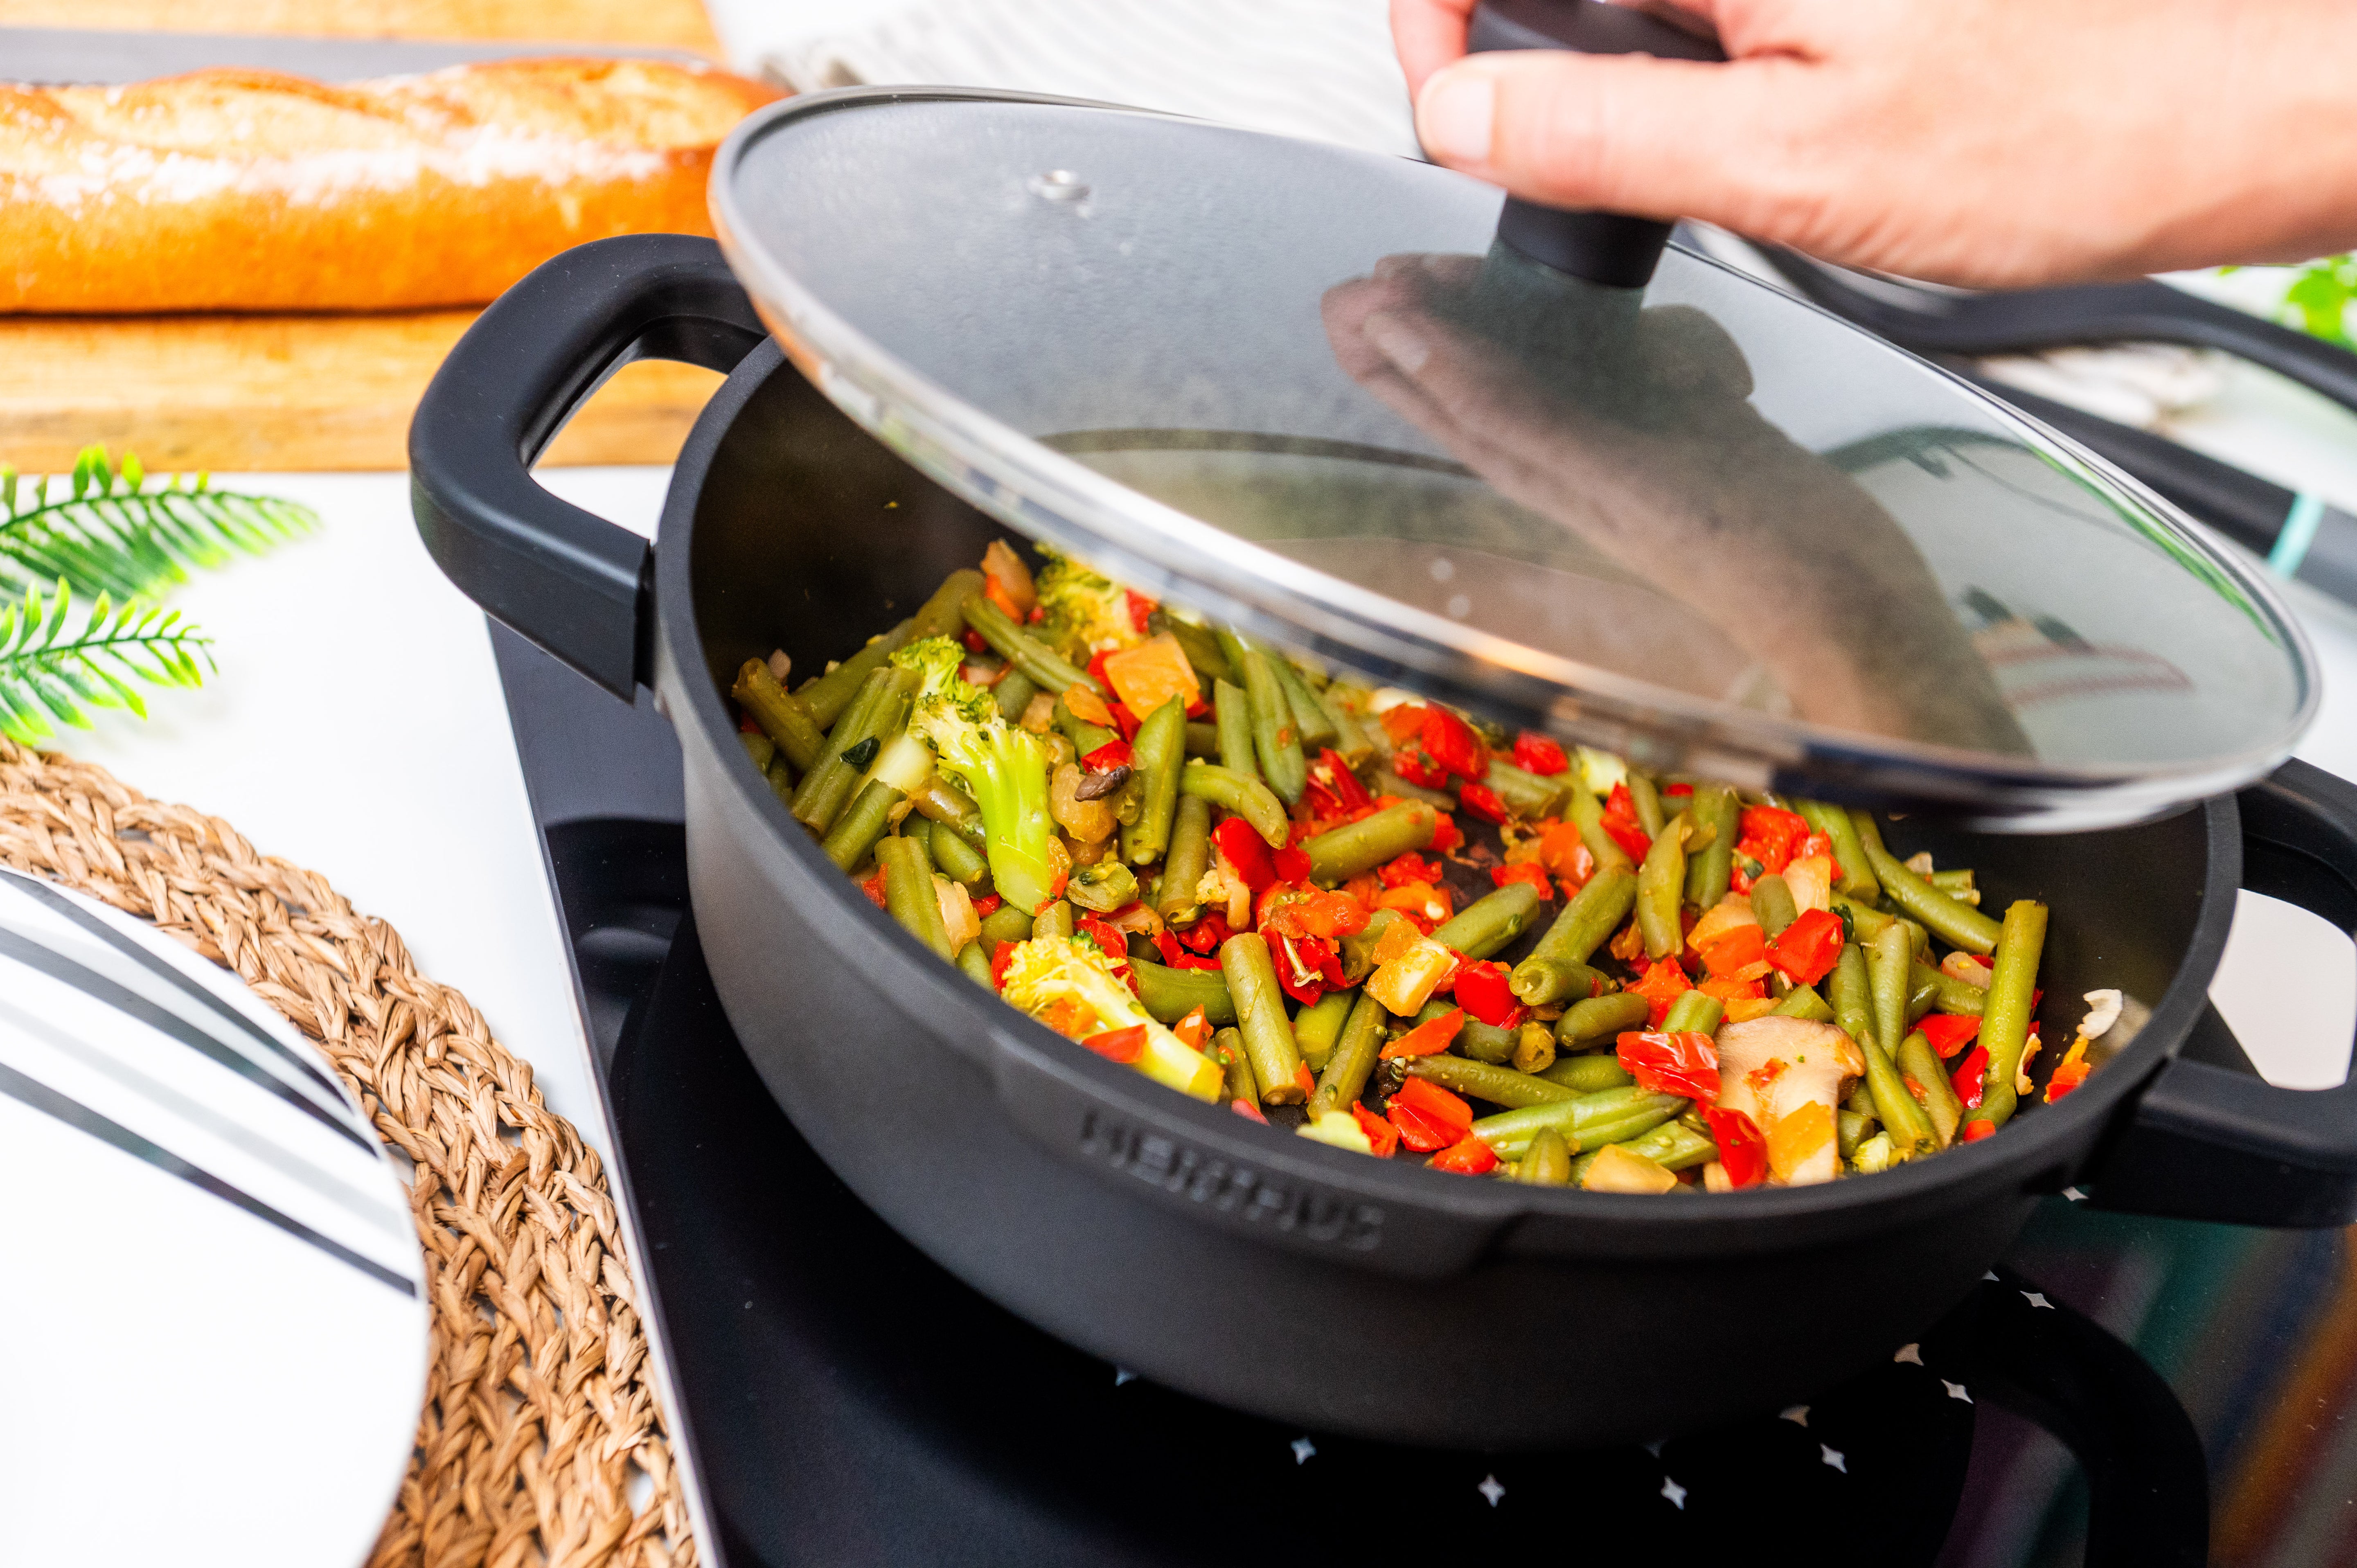
The Nerthus 3-Layer Stainless Steel Pan with Full Induction Base combines an aluminum layer between two stainless steel layers to distribute heat evenly.
It does not have a non-stick coating, so it is especially suitable for browning, searing, sautéing, and cooking using traditional techniques. Its Full Induction base allows it to be used on induction, gas, ceramic, electric, and halogen cooktops.
It is available in three diameter variants: 20, 24, and 28 cm, so you can choose the most suitable size depending on the amount of food and the type of preparation.
 3-Layer Stainless Steel Pan · Ø20 cm
Ideal for individual portions, a small steak, a burger, or side dishes.
Checking price… 3-Layer Stainless Steel Pan · Ø24 cm
The most versatile size for everyday use: chicken breasts, mushrooms, vegetables, shrimp, or medium-sized fish.
Checking price… 3-Layer Stainless Steel Pan · Ø28 cm
More surface area for large pieces, multiple servings, or family preparations without overcrowding.
Checking price…What are stainless steel pans designed for?
An uncoated stainless steel pan is mainly designed for techniques where direct contact with the metal, stable temperature, and intense browning are desired.
🥩 Searing meats
This is one of its best uses. A properly preheated pan allows you to form a toasted and flavorful surface on steaks, tenderloins, chops, burgers, or chicken breasts. During the first few minutes, the meat may seem stuck: do not pull it. Once a good crust has formed, it will release from the surface much more easily.
🥦 Browning and sautéing vegetables
Mushrooms, zucchini, asparagus, onion, broccoli, and other vegetables can develop a good exterior color without necessarily becoming soft. It is important not to overcrowd the pan: if too much food is added at once, the temperature drops, steam accumulates, and the ingredients start to cook instead of browning.
🐟 Cooking fish with skin
Salmon, sea bass, gilthead bream, and other fish with skin can be cooked to achieve an especially crispy result. The fish must be well dried and initially placed with the skin in contact with the pan, without moving it until the skin has browned and easily releases.
🍷 Preparing sauces by deglazing
After cooking meat, chicken, fish, or vegetables, small browned residues usually remain stuck to the pan. They are not always burnt food: they are caramelized juices full of flavor. By adding broth, wine, water, or another suitable liquid, they can be dissolved and turned into the base of a sauce. This technique is known as deglazing and also facilitates later cleaning.
Which foods require more care?
Stainless steel pans can also be used for eggs, omelets, crepes, or delicate white fish, but these preparations require greater temperature control and a sufficient amount of fat.
For someone still learning to cook with stainless steel, it is easier to start with:
- Meats, burgers, and chicken.
- Salmon with skin, shrimp, or prawns.
- Sautéed mushrooms and vegetables.
- Potatoes and pan sauces.
Once preheating and fire control are mastered, you can move on to eggs, omelets, and more delicate foods.
Do you need to season a stainless steel pan?
An uncoated stainless steel pan does not need seasoning like a cast iron or carbon steel pan. Traditional seasoning consists of creating a permanent layer of polymerized oil on the metal, useful in iron and carbon steel, but not necessary in stainless steel.
In this material, the result mainly depends on:
- Preheat properly.
- Add the oil after preheating.
- Use moderate temperature.
- Dry the food well.
- Do not move them prematurely.
What to do before first use
Before using a new pan:
- Wash it with warm water and mild soap.
- Use a non-abrasive sponge.
- Rinse it thoroughly.
- Dry it with a clean cloth.
- Check that no packaging, dust, or moisture remains.
No permanent seasoning is necessary.
How to properly use a stainless steel pan
1. Choose an appropriate cooking area
The cooking area should be about the same size as the base of the pan. On gas, the flame should not extend beyond the sides; on induction, it is advisable to initially avoid the turbo or booster function.
2. Prepare and dry the food
Moisture hinders browning and encourages food to stick. Dry the surface well with paper towels and avoid putting food in completely wet.
3. Preheat the empty pan
Place the empty pan over medium heat. It is not necessary to use maximum power: a tri-ply pan distributes heat and can reach a high temperature working at moderate power. As a reference, preheating usually lasts between one and three minutes.
4. Perform the water drop test
Add a few small drops of water:
- Cold pan: the drop remains spread out or evaporates slowly. Let it continue heating.
- Right point: the drop becomes a compact sphere that slides or "dances" (Leidenfrost effect). The pan is ready to brown and seal.
- Too hot: drops break apart or disappear abruptly. Remove the pan for a moment or reduce the heat.

5. Remove the water and add the oil
Remove the drops, slightly reduce the heat if necessary, and add the oil, moving the pan to cover the surface. When it’s fluid and slightly shiny, you can add the food.
6. Add the food
Place it carefully to avoid splashes. You should hear a clear cooking sound, but not an extremely violent reaction.
7. Don’t move it immediately
At first, proteins may stick to the steel. As the golden crust forms, the surface dries and naturally releases. Try gently moving it with tongs: if it resists, wait a little longer.


8. Adjust the heat during cooking
Medium-high to start searing, medium to continue browning, medium-low for delicate foods, and low to finish a sauce. Overheating can burn the oil and cause discoloration.
9. Don’t overcrowd the pan
Ingredients need space. If the entire base is covered, the temperature drops, steam is generated, and browning is less intense. For large quantities, use a larger diameter pan or cook in batches.
💡 Quick sequence
Dry the food → preheat the pan → do the drop test → remove the water → add the oil → add the food → wait → flip when it releases.
Which diameter to choose
The choice of diameter does not depend solely on the number of people: the size of the ingredients and the space they need to brown without accumulating moisture also influence it.
Ø 20 cm
Individual servings, a small steak, a burger, side dishes, or toasting nuts.
Ø 24 cm
One or two people: chicken breasts, two medium steaks, mushrooms, vegetables, shrimp, or small fish.
Ø 28 cm
Multiple servings, large pieces of meat, wide stir-fries, or family preparations.

The best recipes for a stainless steel pan
- Steak with pan sauce: the golden crust is deglazed with broth or wine for a quick sauce.
- Golden chicken: boneless breasts and thighs, without flipping until the first side is golden.
- Salmon with crispy skin: skin side down, dry, with a thin layer of oil.
- Shrimp and prawns: quick cooking that browns the outside without drying the inside.
- Mushrooms and champignons: wide pan, without crowding or constantly stirring.
- Stir-fried vegetables: asparagus, zucchini, peppers, broccoli, and onion with firm texture and browned exterior.
- Golden potatoes: with enough fat, space, and patience before moving them.
- Meatballs and burgers: browned exterior as a flavor base to finish with sauce.
- Scallops and other shellfish: dry and separate pieces, short cooking at high temperature.

How to deglaze a stainless steel pan
Deglazing allows you to make use of the browned bits left on the bottom after cooking.
- Remove the meat, fish, or vegetables.
- Slightly reduce the heat and remove excess fat if necessary.
- Add a small amount of broth, wine, water, or juice, depending on the recipe.
- Gently scrape the bottom with a wooden or silicone spatula.
- Let the liquid reduce.
- Add butter, cream, herbs, or spices if the recipe requires it.
The browned bits will dissolve in the liquid and add flavor to the sauce. Deglazing also significantly reduces the dirt that will need to be cleaned afterward.

How to cook eggs in stainless steel
Eggs can be cooked in stainless steel, but they require a slightly different technique than the one used for searing meat:
- Cook over medium-low heat.
- Preheat for less time.
- Add butter or enough oil to cover the cooking area.
- Wait until the butter stops foaming intensely, without letting it burn.
- Add the egg and do not try to move it until the white has started to set.
For scrambled eggs or very delicate omelets, a non-stick pan is easier; stainless steel can do it, but it is not necessarily the most comfortable tool for someone without experience.
How to clean a stainless steel pan
Cleaning after normal use
Let the pan cool down before washing it (do not put it hot into cold water). Wash with hot water and mild soap, using a non-abrasive nylon sponge or scrubber, rinse well, and dry immediately.
Stuck food residue
Add hot soapy water and let the pan soak. When the residue softens, clean it with a soft sponge, or heat water in the pan itself and scrape with a wooden or silicone utensil.
Burnt food
Cover the bottom with water, add a little baking soda, and heat for a few minutes. Remove from heat, let it cool slightly, and scrub with a non-metallic sponge. Repeat the process if necessary, instead of using tools that could scratch the surface.
Colored stains or rainbow effect
They are usually a superficial discoloration after intense heating, not a pan defect. They can be removed with diluted white vinegar, lemon juice, or a mild mixture of water and baking soda.
White stains
They may be due to minerals in the water or salt. They are treated with diluted vinegar or lemon juice. To reduce their appearance, add salt when the water is already hot or the food has started cooking.
Products to avoid
Bleach or chlorine products, oven cleaners, steel wool, harsh metal scrubbers, very abrasive powders, and sharp tools for scraping the bottom.

Can it be washed in the dishwasher?
Stainless steel may be dishwasher safe if indicated by the manufacturer. However, hand washing is usually gentler and helps preserve the exterior finish longer: strong detergents, dishwasher salt, and contact with other utensils can cause marks or reduce shine, even though the pan still works properly. To keep it in the best condition, it is preferable to wash by hand, rinse well, and dry immediately.
How to store a stainless steel pan
Before storing it, make sure it is completely dry. If stacking several pans:
- Place a felt protector between them (or a clean cloth / paper towel).
- Avoid letting another metal base rub directly against the interior.
- Do not store food inside the pan.
Protectors reduce scratches and marks caused by the movement of pieces during storage.

Common mistakes when using a stainless steel pan
- Cooking with a cold pan: increases sticking and results in less even browning.
- Always using maximum heat: this can burn the oil and cause stains on the metal.
- Adding oil too early: it’s better to preheat first and add the fat afterward.
- Introducing wet food: cools the surface, generates steam, and makes browning difficult.
- Trying to force the meat off: usually the necessary crust has not yet formed.
- Overfilling the pan: the ingredients end up cooking in their own steam.
- Cooling it suddenly: it should not be placed very hot under a cold water stream.
- Not drying it after washing: this can cause water marks and mineral deposits.
- Confusing the golden bottom with burnt food: the brown residues are used for a sauce; they should only be discarded if they are completely black and have a bitter smell.
Frequently Asked Questions
Why does food stick?
The most common causes are: insufficient preheating, excessive temperature, lack of oil, food that is too cold, a wet surface, moving it before it has browned, or too many ingredients in the pan.
Is the drop test useful for all recipes?
It is especially useful for recognizing the right temperature for browning and searing. It is not necessary to reach that point for delicate preparations like eggs, butter, garlic, or mild sauces, which require lower temperatures.
Should the test be done multiple times?
No. Once you understand how your pan and stove respond, just repeat the process when necessary. After the test, always remove the water before adding oil.
Can olive oil be used?
Yes. It is suitable for many medium-temperature cooking methods. For very intense searing, a fat with a higher smoke point can be used, always avoiding letting the oil smoke for too long.
Can butter be used?
Yes, especially on medium-low heat. For higher temperatures, it can be combined with oil or added at the end to add flavor without burning it.
Can metal utensils be used?
Uncoated stainless steel is more durable than a non-stick surface, but aggressive scraping should be avoided. Wooden, silicone, and nylon utensils help preserve the finish better.
Do scratches affect cooking?
Small scratches from normal use are mostly cosmetic. Using protectors and appropriate utensils helps keep the pan in better condition.
Do rainbow stains mean the pan is damaged?
Usually not. These are often discolorations caused by heat or mineral deposits, and can be removed with vinegar, lemon, or a mild stainless steel cleaner.
Is a stainless steel pan better than a non-stick one?
There is no single ideal pan for everything. Stainless steel is especially good for searing, browning, sautéing, deglazing, and making sauces. A non-stick pan is more convenient for eggs, omelets, crepes, very delicate fish, or cooking with very little fat. Both materials can complement each other in the same kitchen.
Summary: the keys to mastering stainless steel
- Dry the food well.
- Preheat the pan over medium heat.
- Check the temperature with the drop test.
- Remove water before adding oil.
- Spread the fat over the surface.
- Do not overfill the pan.
- Do not move the food before it releases.
- Adjust the heat during cooking.
- Use the browned base to prepare sauces.
- Let the pan cool before washing it.
- Dry it immediately.
- Protect it if you are going to stack it.
Mastering these guidelines allows you to take advantage of the main virtues of stainless steel: durability, versatility, intense browning, and a long lifespan.

🍳 Nerthus 3-Layer Stainless Steel Pan
Available in 20, 24, and 28 cm. Even heat distribution and compatible with all types of cooktops, including induction.
View Stainless Steel Pan →


